InfinCE allows you complete control over every user’s access on every software asset – files & folders, dashboards, communication channels, mobile apps and business applications. This helps you easily manage scenarios where you need to temporarily or permanently revoke user (employee) access to all IT assets.
An “InfinCE Administrator” has the access rights to manage user access.
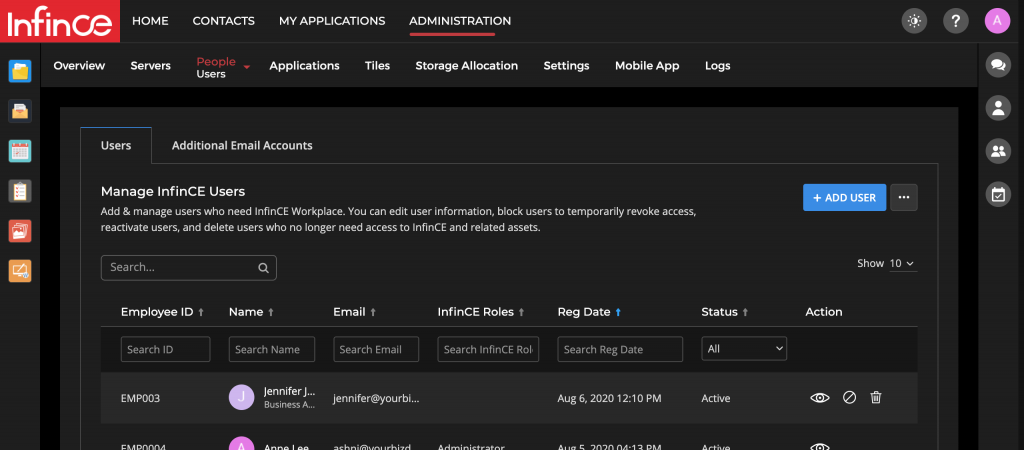
On the Administration > People > Users listing, all the active and blocked users are listed. The action items on the right are View, Block/Activate and Delete.
View User Access and Storage
Click on the view icon to see the detailed User profile.
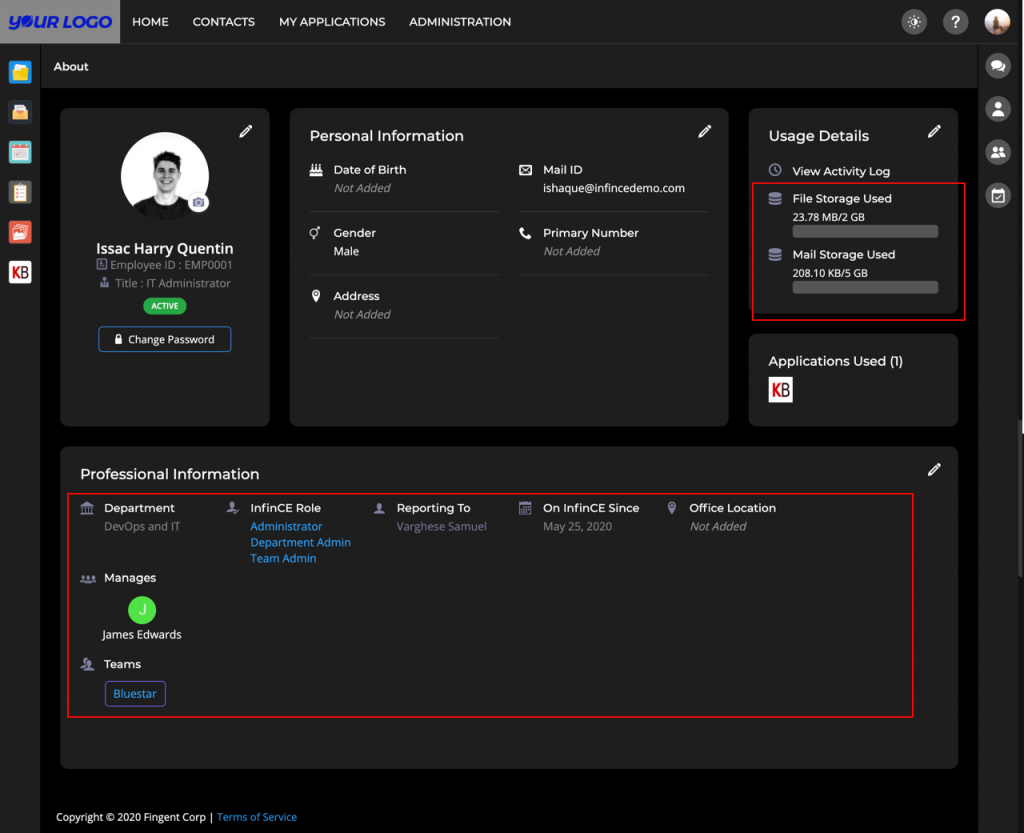
This pages gives you details of the Mail and Files storage allocated & used and all business applications that he/she has access to. You can also view the employee’s InfinCE Role, Reporting Manager, Department, all the teams he/she is part of, and the list of employees he/she manages, if any. These are critical details for you to evaluate before you block/activate/delete an employee.
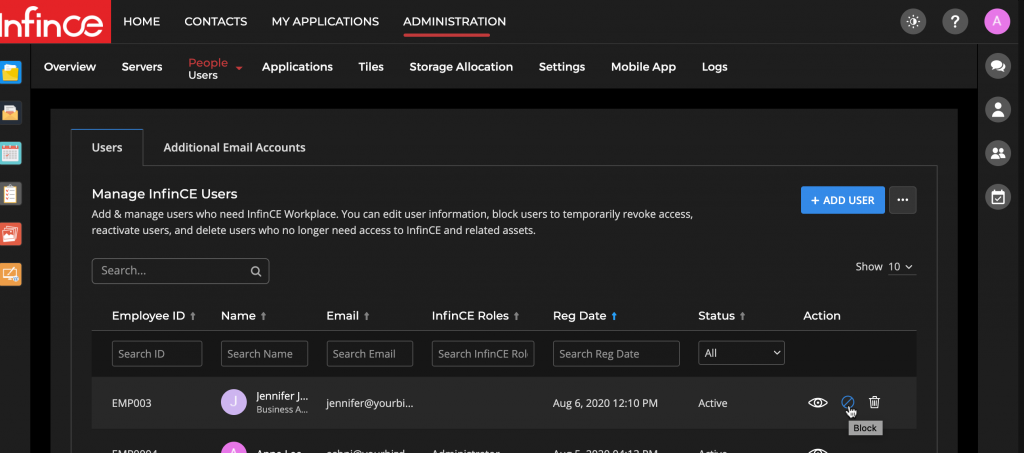
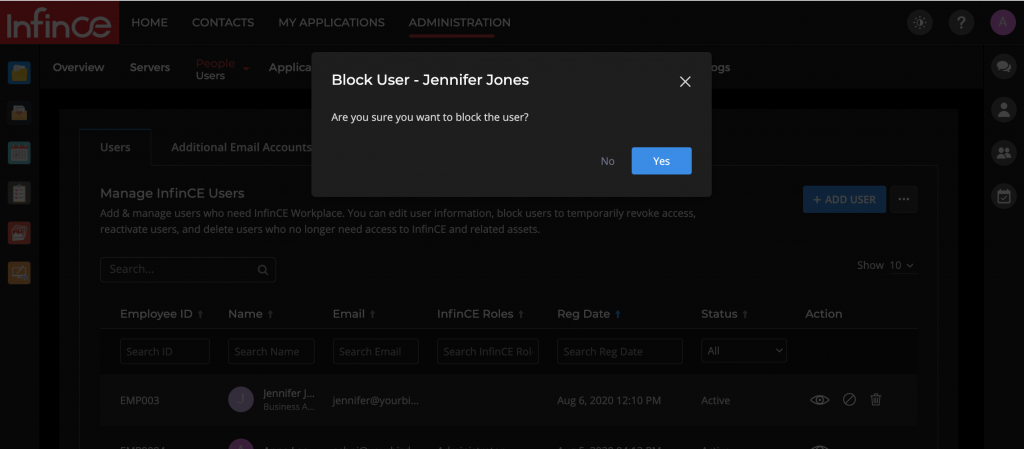
Block/Activate User Access
Click on the “block” icon against the user to temporarily revoke the user’s access to all assets related to InfinCE Workplace. The user will remain in the system and will be listed in the People > Users list, but a blocked user can no longer access InfinCE Workplace or any related assets, like files/folders, business applications and mobile app(s).
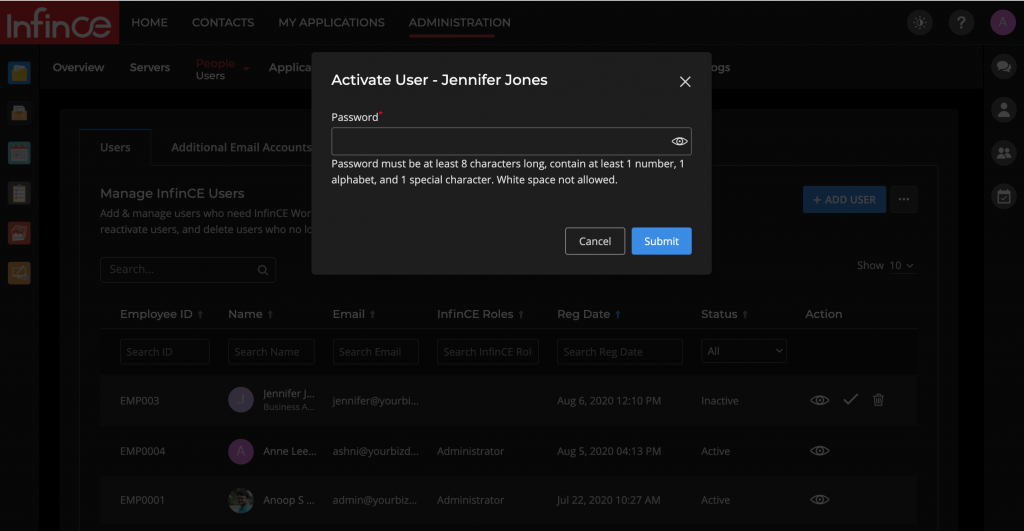
A blocked user can be “activated” by clicking on the “Activate” icon and the user will regain access to all the InfinCE assets that he/she had access to, earlier. This feature allows you to temporarily revoke/grant access, from example, in situations where you have to manage seasonal/ contractual employees.
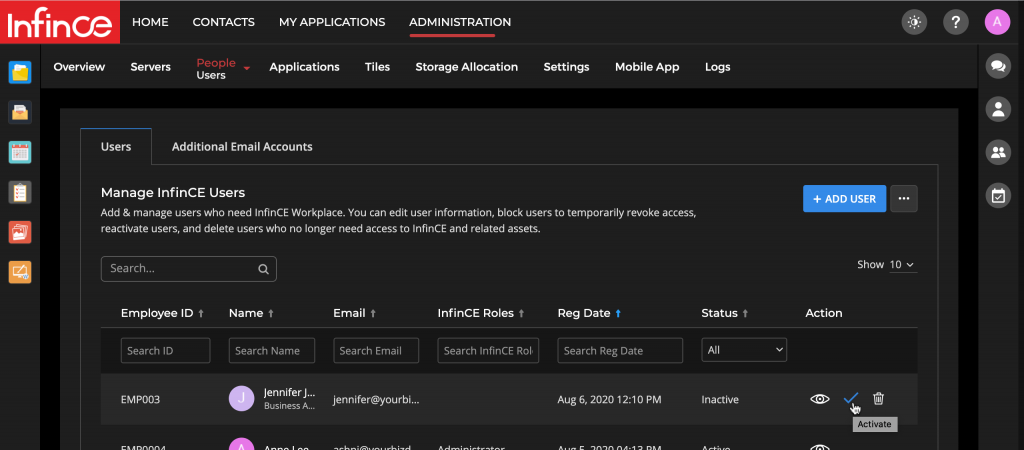
Users who are blocked for the entire duration of the month do not get billed in your monthly usage. This feature thus allows you to dynamically manage your usage and billing on demand.
Delete User
Click on the delete icon at the far right to delete a user when required, like when an employee leaves the organization. You will receive a prompt to transfer all the files and folders owned by the employee. You can choose to transfer the data to his/her Reporting Manager or to someone who is taking over that role. The ‘transfer files’ feature lets you seamlessly manage data/files hand-over and prevent loss of information when a user is deleted.
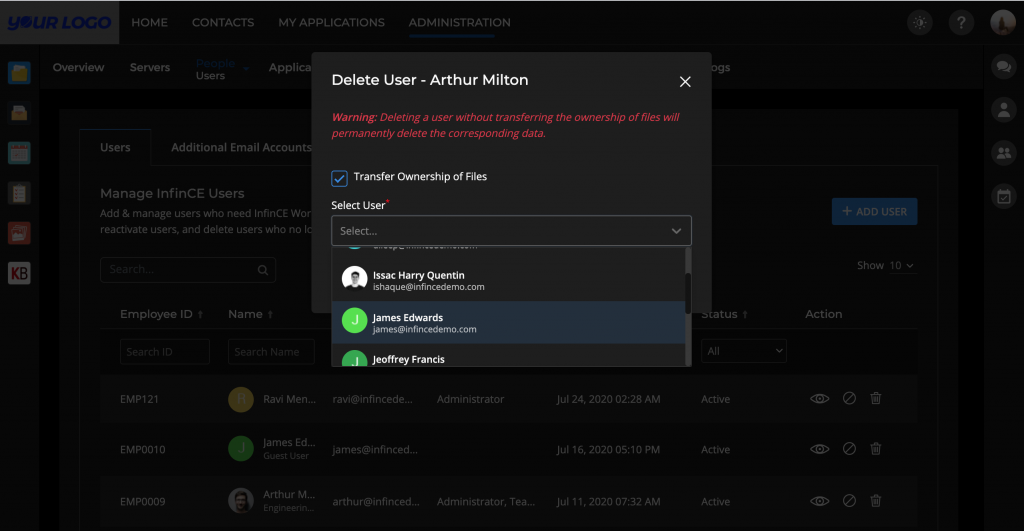
The user to whom all the files are transferred will now have a folder in his/her Files, that holds all the data that got moved. He/she will automatically have an increased “File Storage” in accordance with the storage that was allocated to the deleted user.
Permanent Deletion
You can refer to the list of all users who were deleted (as explained in the section above), by clicking on the “Deleted Users” menu from the more icon.
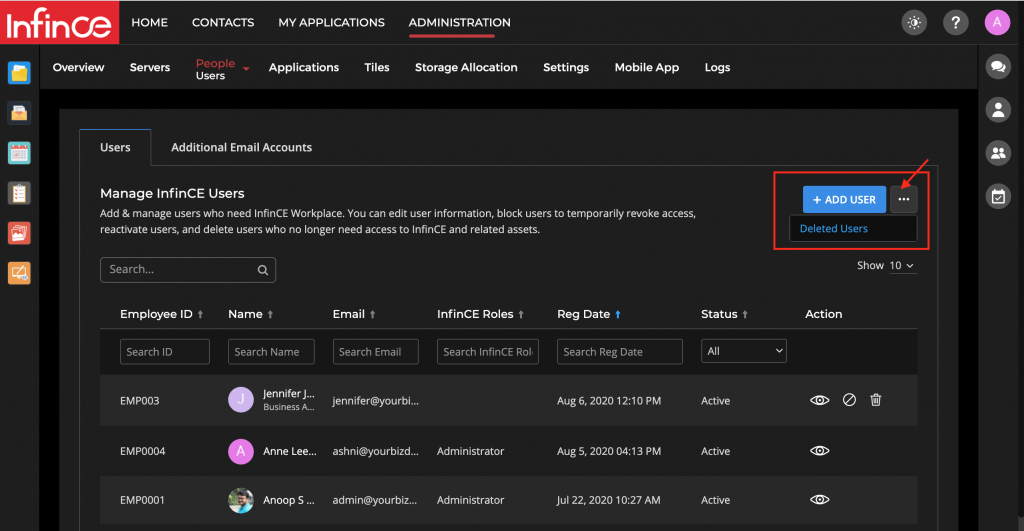
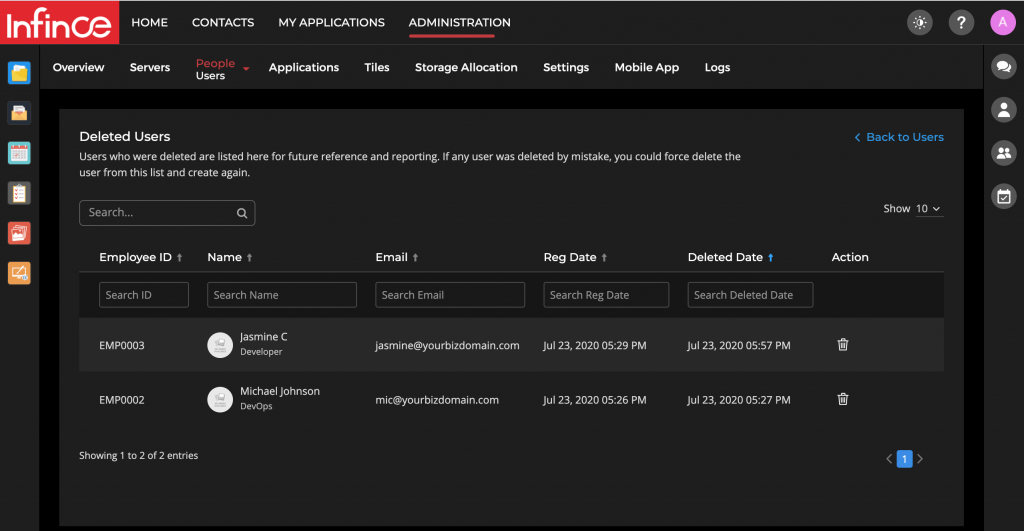
This listing enables you to maintain the record of all employees/users who were on your rolls. Do note that the “email” that was assigned to a deleted user cannot to reassigned to new user. However, if you had deleted an user by mistake and need to reinstate the user, you could follow these steps:
- Permanently delete the user from the database by clicking on the delete icon on the “Deleted Users” list.
- Add the user again from the Administration > People > Users menu.