When you sign up for InfinCE, the application is launched with the default logo and theme. You can change these settings to white label your InfinCE Workplace as per the branding requirements of your organisation.
Only Users with the “InfinCE Administrator” role have the access for customisation.
Changing the Logo
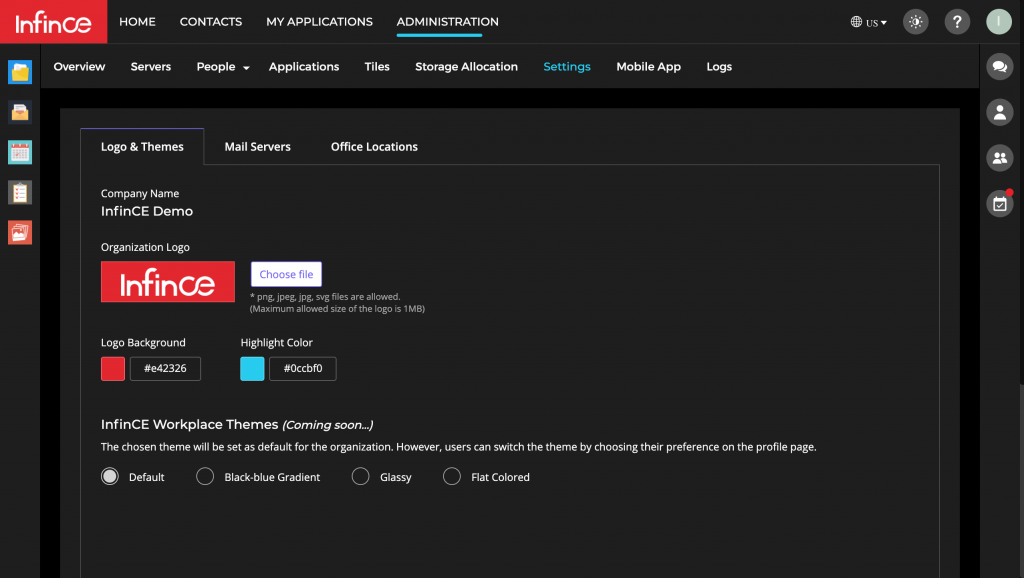
To change the Logo used in your InfinCE Workplace (displayed on Login screens and top left of your Application), click on the “Administration” menu on the top and then click on the “Settings” tab in the menu below.
In “Logo” tab, click on browse to choose the desired image from your computer. Then click on “Save” to upload the new logo. Transparent logo images (.png file) in rectangular format maybe the best choice here. You can also choose a suitable background colour for your Logo. In the example shown below, we have chosen a transparent white logo with red logo background.
Changing the Theme/Colours
The 2 other customisation options are:
- Highlight colour: Choose the colour that you would like to highlight the selected menus and such other elements. In the example above, blue has been chosen as the highlight colour.
- Themes: Choose from a list of preset themes that would decide the background colours and font settings.
After choosing the Logo, colours and theme, click on the “Save” button for the new settings to go live.
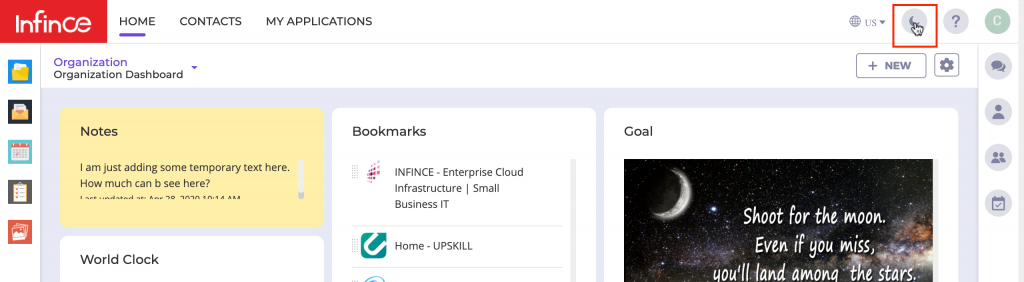
Dark & Light Mode
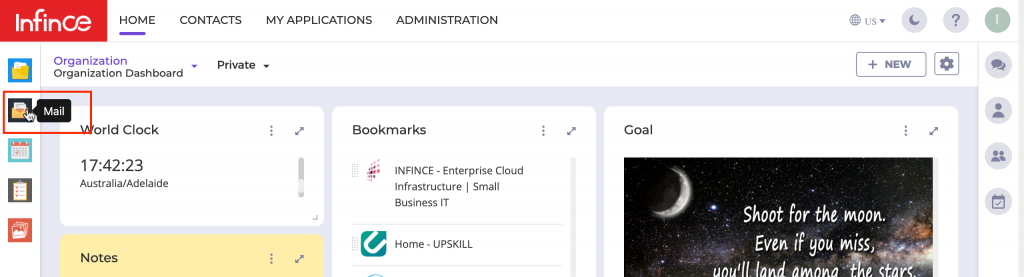
Setting up your Email
If you opted for an Email Server while signing up for InfinCE, your Email should be automatically available. Click on the Email icon on the left to access your mails.
On the other hand, if your Organisational email is hosted outside InfinCE, but you would like to access it through InfinCE, please refer this article.
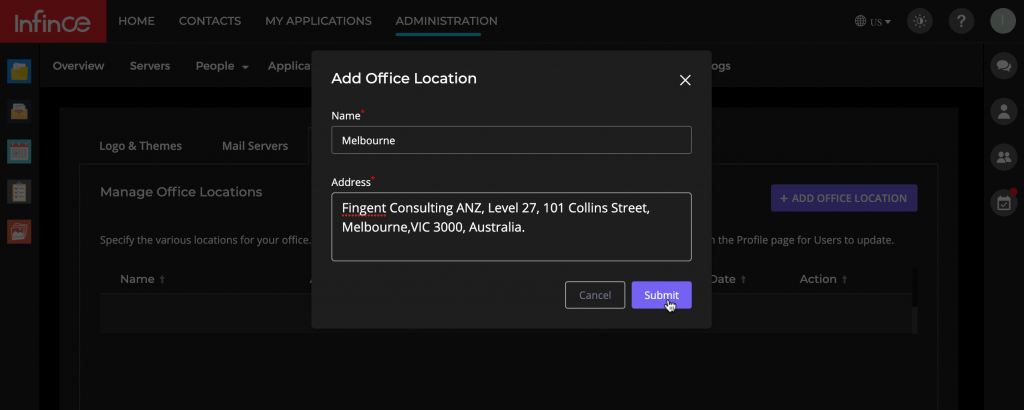
Setting up multiple Office Locations
If your office functions out of multiple locations, you can define these under the “Office Locations” tab within Administration > Settings. The locations defined here will be listed as options for “Office Location” field when you add a new user/employee to the organisation.